Kostenlose Rückgabegarantie
Free & Easy Returns
Free & Easy Returns

Willkommen zum ultimativen Wärmebildkamera-Kaufberater für 2025! Egal, ob Sie als Hausbesitzer Wärmelecks aufspüren, als Elektriker elektrische Fehler aufspüren oder als HLK-Techniker Systeme diagnostizieren – die richtige Wärmebildkamera kann Zeit und Geld sparen und gefährliche Ausfälle verhindern.
In diesem umfassenden Leitfaden erklären wir die Funktionsweise von Wärmebildkameras, erläutern die wichtigsten Spezifikationen und empfehlen die besten Optionen für jedes Budget und jeden Anwendungsfall – einschließlich der hervorragenden Modelle TI240 und TI260 von Hanmatek.
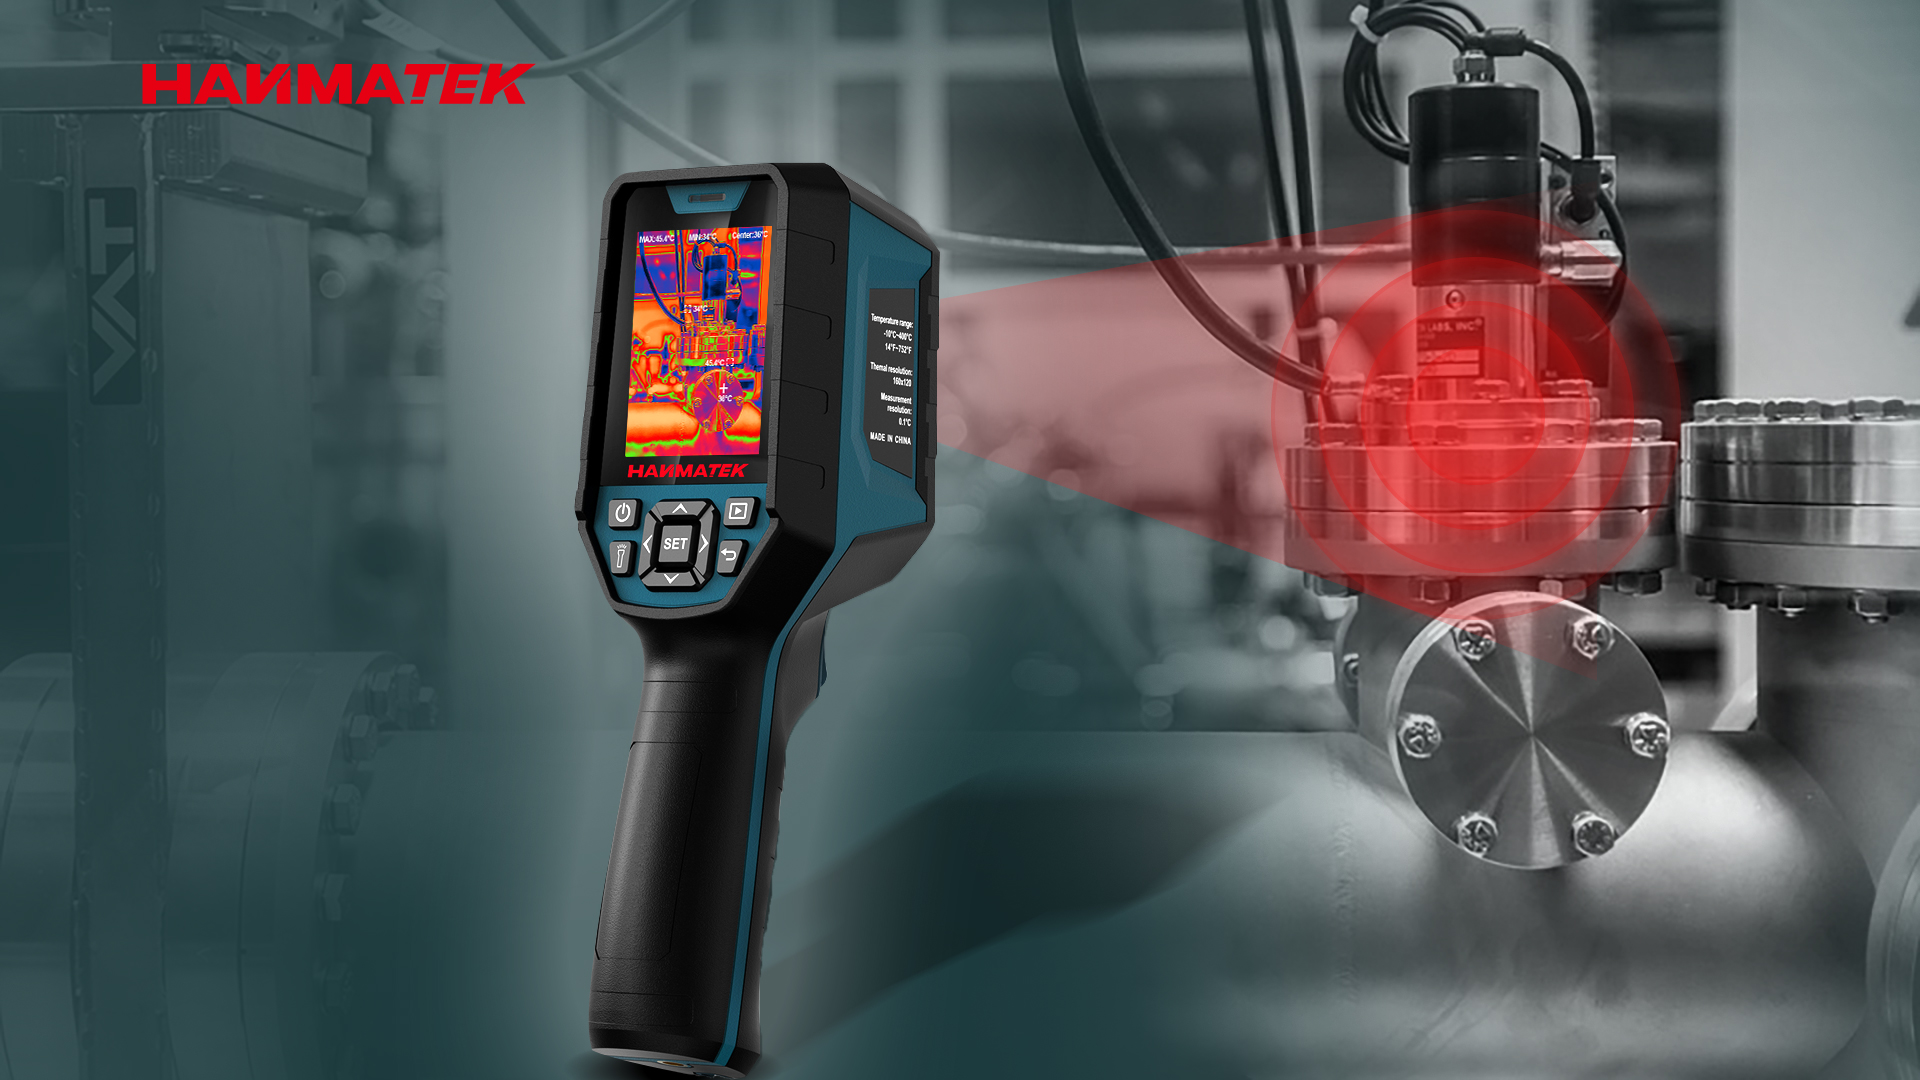
Hier sind zwei beliebte Hanmatek-Modelle, die für den professionellen Einsatz an der Werkbank geeignet sind:
Eine Wärmebildkamera (auch Infrarotkamera genannt) erfasst die unsichtbare Infrarotstrahlung, die von Objekten abgegeben wird, anhand ihrer Temperatur. Wärmere Objekte erscheinen auf dem Bildschirm heller oder in anderen Farben, während kühlere Bereiche dunkler dargestellt werden.
Im Gegensatz zu herkömmlichen Kameras, die sichtbares Licht erfassen, „sehen“ Wärmebildkameras Wärme – was sie ideal macht, um versteckte Probleme in Wänden, Schaltschränken oder Maschinen aufzuspüren.
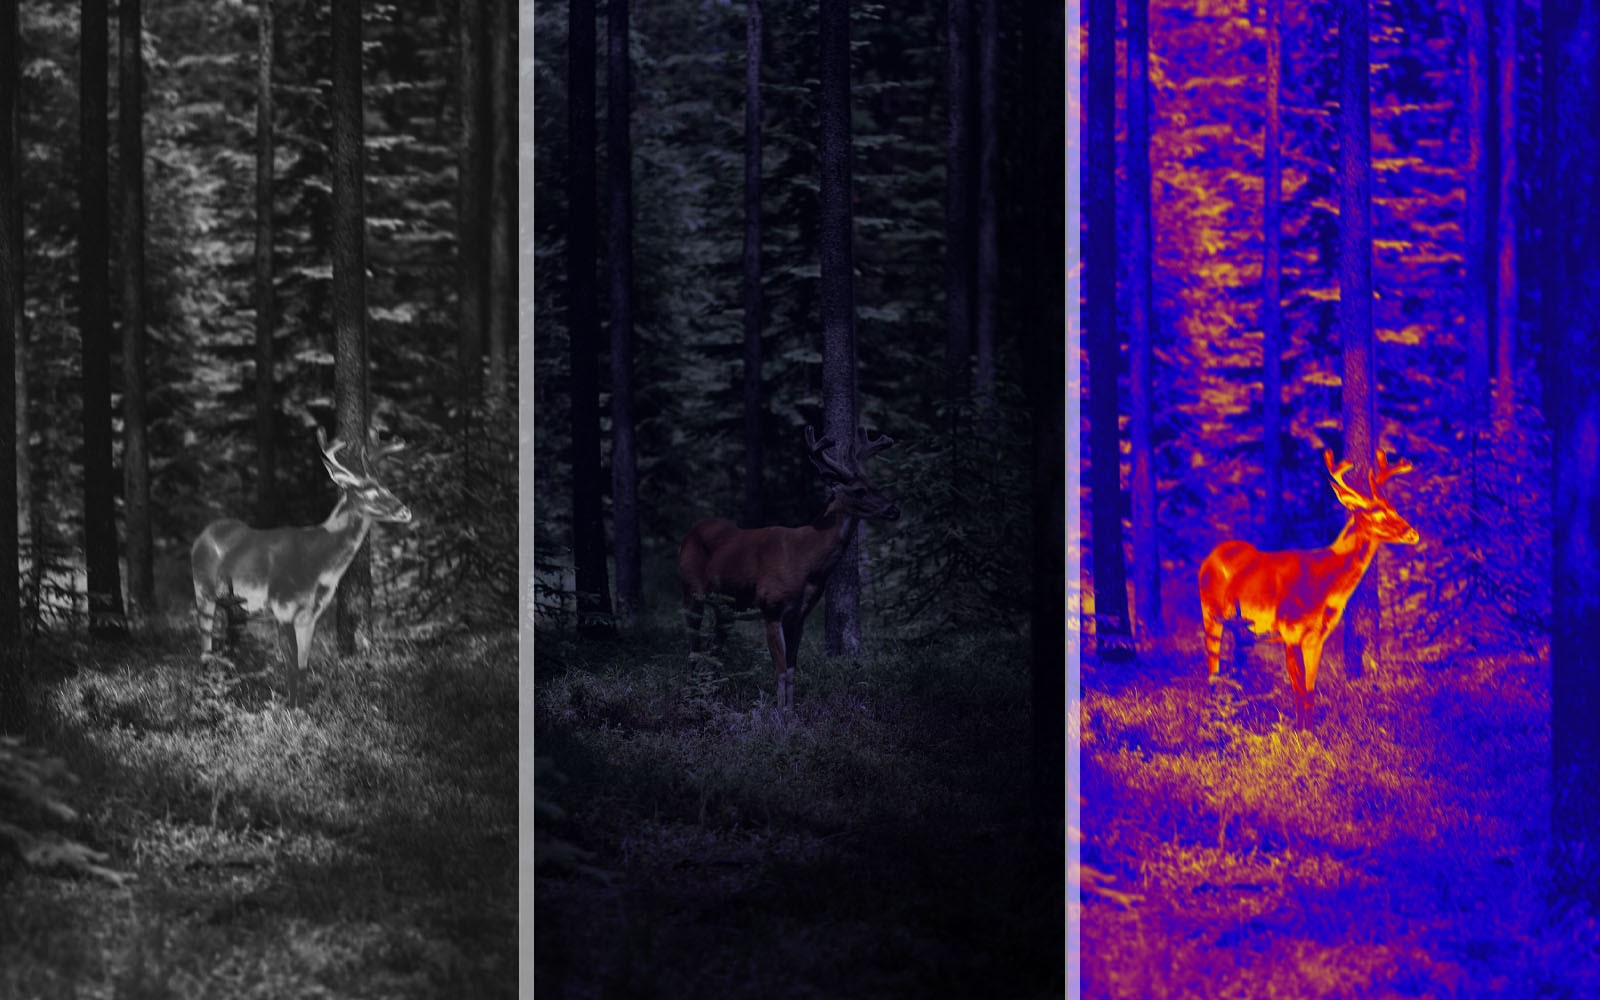
Dieses anschauliche Beispiel des Fusionsmodus (Überlagerung von Infrarot- und sichtbarem Licht) dient der einfachen Problemerkennung:
| Parameter | Was es bedeutet | Warum das wichtig ist | Gutes Preis-Leistungs-Verhältnis im Jahr 2025 |
|---|---|---|---|
| IR-Auflösung | Anzahl der Wärmebildpixel (z. B. 240×240 oder 256×192) | Höherer Wert = schärfere Details, kleinere Probleme lassen sich leichter erkennen | ≥240×240 für die meisten Benutzer |
| NETD (Thermische Empfindlichkeit) | Kleinste Temperaturdifferenz, die die Kamera erfassen kann | Niedrigerer Wert = erkennt kleinste Temperaturänderungen besser | ≤50 mK |
| Temperaturbereich | Minimale bis maximale messbare Temperatur | Größerer Anwendungsbereich für industrielle oder extreme Bedingungen | -20 °C bis +550 °C |
| Bildmodi | Nur Infrarot, sichtbares Licht, Fusion, Bild-in-Bild | Fusion hilft dabei, Probleme im realen Kontext zu lokalisieren. | Unverzichtbarer Fusionsmodus |
| Akkulaufzeit | Stunden ununterbrochener Nutzung | Längere Inspektionen bedeuten weniger Unterbrechungen. | ≥6 Stunden |
| Laserpointer & Fokus | Hilft beim präzisen Zielen | Beschleunigt und erhöht die Genauigkeit der Feldarbeit. | In guten Modellen enthalten |
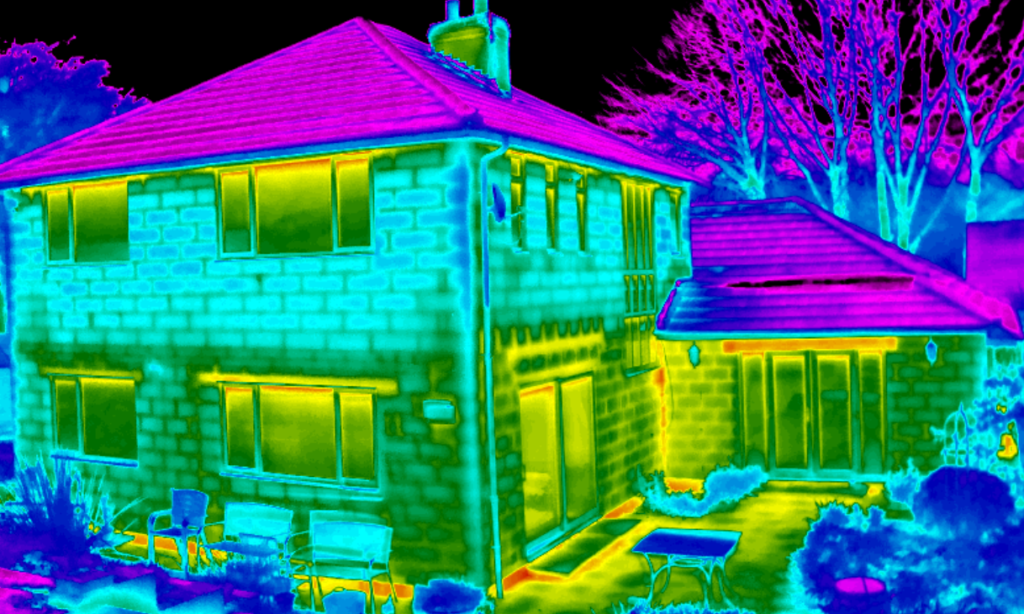
Direkter Vergleich: Wärmebilder mit niedriger Auflösung vs. hochauflösende Bilder – sehen Sie den Unterschied im Detail!
1. Hausbesitzer & Heimwerker (Energiesparen & Hausinspektionen) Ideal für: Auffinden von Wärmeverlusten, Dämmungslücken, Wasserlecks und Steckdosen. Empfohlen: Hanmatek TI240 – 240×240 Pixel Auflösung, Fusionsmodus, hervorragendes Preis-Leistungs-Verhältnis.
Konkretes Beispiel: Erkennung von Wärmeverlusten durch Wände und Fenster im Winter.
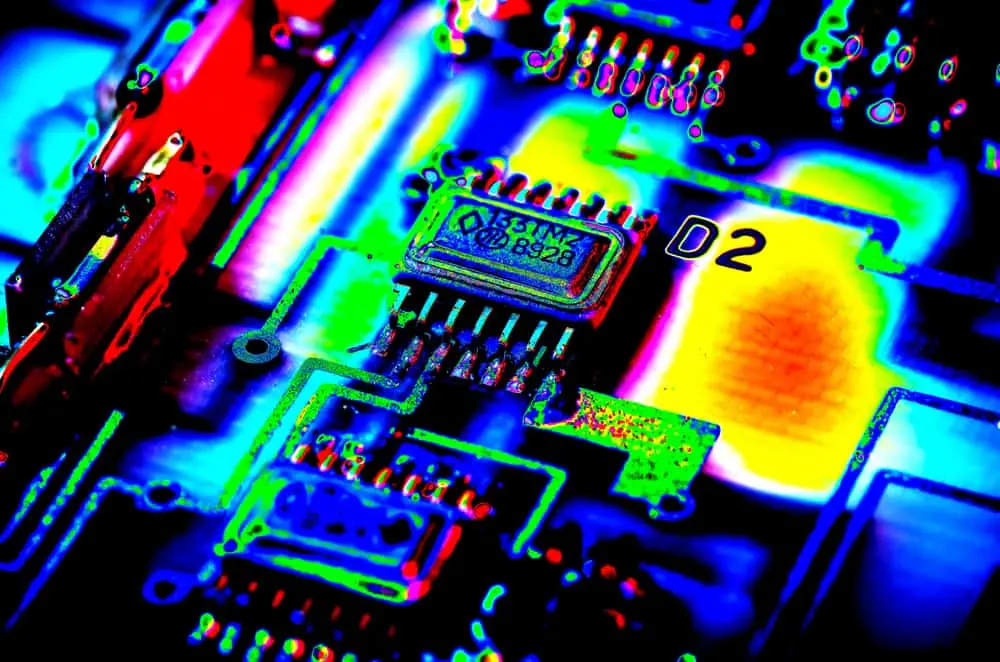
2. Elektriker & Wartungsprofis. Ideal für: Hotspots in Schaltschränken, Motoren, Leiterplatten und Verbindungen. Empfohlen: Hanmatek TI240 oder TI260 – beide bieten gestochen scharfe Details für eine schnelle Fehlersuche.
Farbige Wärmebildaufnahme einer Leiterplatte, auf der heiße Bauteile deutlich hervorgehoben sind:
3. Für Klimatechniker und industrielle Anwendungen. Ideal für: Leckagen an Klimaanlagen, Probleme mit Lüftungskanälen, Kompressorprobleme. Empfohlen: Hanmatek TI260 – etwas höhere horizontale Auflösung für breitere Bildausschnitte.
Professionelle HLK-Inspektion in Aktion:
Beide Modelle bieten im Jahr 2025 eine herausragende Leistung zu einem unschlagbaren Preis.
Sehen Sie sich beide Hanmatek-Modelle nebeneinander an:
Bereit für die Wahl Ihrer Wärmebildkamera? → Hanmatek TI240 – 240×240 Pixel Auflösung → Hanmatek TI260 – 256×192 Pixel Auflösung
Möchten Sie lernen, Ihre neue Wärmebildkamera wie ein Profi zu bedienen? Lesen Sie unsere ausführliche Anleitung: Hanmatek Wärmebildkameras – Schritt-für-Schritt-Anleitung
Eine gute Wärmebildkamera muss nicht mehr teuer sein. Mit den Hanmatek TI240 und TI260 erhalten Sie professionelle Funktionen (hohe Auflösung, Fusionsbildgebung, lange Akkulaufzeit) zu einem Bruchteil der Preise bekannter Marken.
Das Unsichtbare sehen. Probleme schneller lösen. Für Sicherheit sorgen.
Viel Spaß beim Inspizieren! 🌡️
{"one"=>"Wählen Sie 2 oder 3 Artikel zum Vergleichen aus", "other"=>"{{ count }} von 3 Elementen ausgewählt"}
Wählen Sie das erste zu vergleichende Element aus
Wählen Sie das zweite zu vergleichende Element aus
Wählen Sie das dritte Element zum Vergleichen aus


Einen Kommentar hinterlassen