Garantie de retour gratuit
Free & Easy Returns
Free & Easy Returns

Learning how to use an handheld oscilloscope can feel intimidating at first — especially if you’ve just bought your first handheld oscilloscope model.
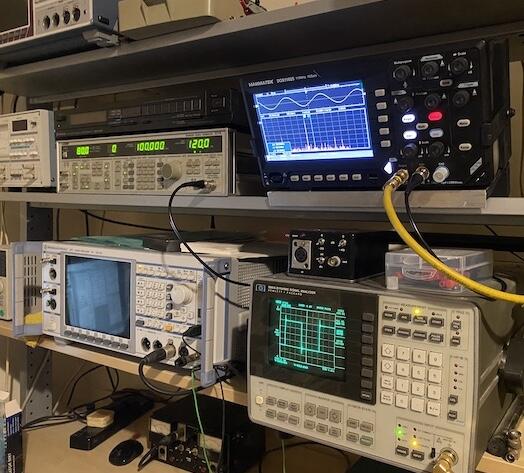
In this complete beginner-friendly tutorial, we’ll walk you through exactly how to use a handheld oscilloscope from start to finish using the popular HANMATEK HO102S as an example.

By the end of this guide, you’ll be confident turning on the scope, connecting probes, adjusting settings, and reading waveforms.
Tip: For most signals, start with the probe set to 10X mode.
Fact 1: Proper Probe Grounding Is Critical for Measurement Accuracy Using short ground leads or a ground spring significantly reduces measurement noise and ringing, especially on higher-frequency signals. Industry best practices emphasize minimizing the ground loop area, as long ground leads can introduce inductive effects that distort the true waveform.
Fact 2: Auto Setup Dramatically Reduces the Learning Curve Modern handheld oscilloscopes with intelligent Auto Setup functions automatically optimize vertical scale, time base, and triggering to display a stable waveform within seconds. This feature allows beginners to obtain usable results immediately while gradually learning manual adjustments, making the tool far more accessible than older analog scopes.
Fact 3: 3-in-1 Multifunction Designs Accelerate Practical Learning Instruments that combine a real oscilloscope, digital multimeter, and signal generator in one device enable users to switch seamlessly between numerical measurements and waveform visualization. This integration has been shown to help beginners master both basic voltage checks and advanced signal analysis more quickly than using separate instruments.
This is the fastest way for beginners to get a good starting view.
Once the waveform appears, you can fine-tune it:
The HO102S offers many helpful tools:
The HO102S includes a built-in signal generator. You can output sine, square, triangle, or sawtooth waves to test your circuits without needing an extra device.
Using a handheld oscilloscope like the HANMATEK HO102S is much easier than most beginners expect. With its intuitive interface, auto setup function, and 3-in-1 design, it’s an excellent tool for learning and real-world work.
Master these basic steps, and you’ll be confidently debugging circuits in no time.
Ready to start your oscilloscope journey?
👉 Buy the HANMATEK HO102S 3-in-1 Handheld 100MHz Oscilloscope

Have questions about any step? Drop them in the comments below — I’ll be happy to help you get the most out of your handheld oscilloscope!
{"one"=>"Sélectionnez 2 ou 3 articles à comparer", "other"=>"{{ count }} éléments sélectionnés sur 3"}
Sélectionnez le premier élément à comparer
Sélectionnez le deuxième élément à comparer
Sélectionnez le troisième élément à comparer


Laisser un commentaire