Skip to content
Subscribe Get 5% Off! Free shipping for all Products!
Subscribe & Get 5% Off! Free shipping for all Products!
🎉 Deals: Buy EU HO11 / SF2 / SF3 Get a FREE AC1 (€9)! left – Shop Now!
How to Read Oscilloscope Waveforms: A Beginner’s Guide

How to Read Oscilloscope Waveforms: A Beginner’s Guide

Learning how to read oscilloscope waveforms is one of the most valuable skills for anyone getting into electronics. At first glance, the screen full of lines and numbers can look intimidating, but once you understand the basics, it becomes an incredibly powerful tool for diagnosing and understanding circuits.

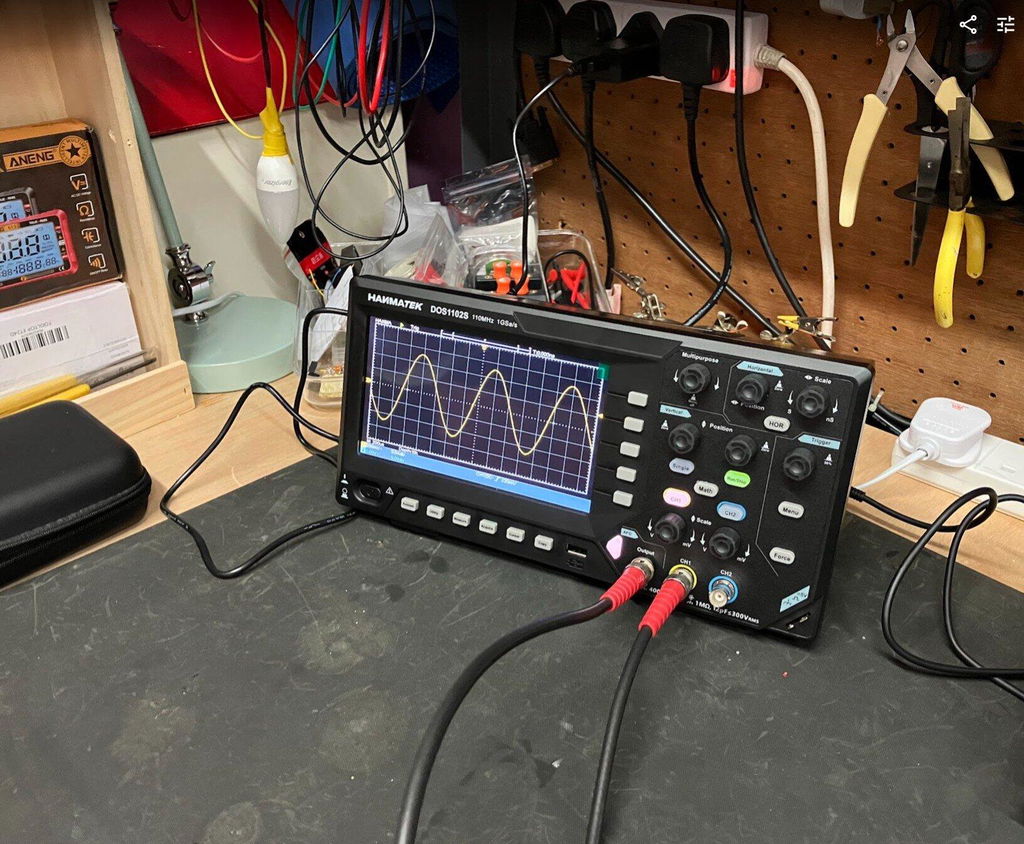
In this beginner-friendly guide, we’ll break down exactly how to read oscilloscope waveforms using the HANMATEK DOS1102 as an example.

Three Key Facts About Reading Oscilloscope Waveforms

Fact 1: The Grid Provides Direct Voltage and Time Measurements

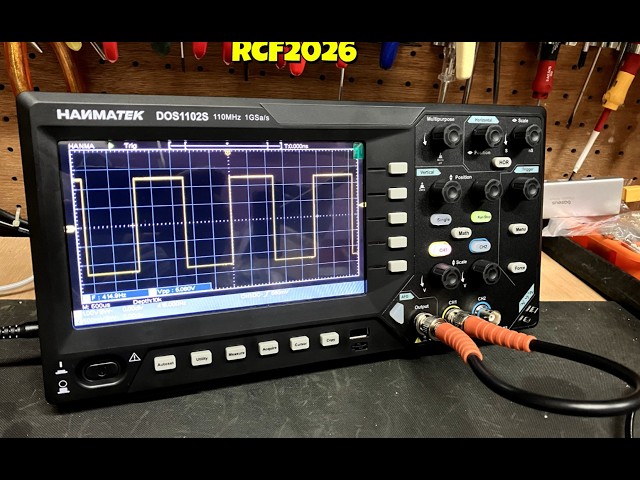
Every waveform is displayed on a calibrated grid where the vertical axis represents voltage and the horizontal axis represents time. Understanding divisions (V/div and s/div) allows you to quickly calculate amplitude, period, and frequency without guesswork, forming the foundation of all oscilloscope measurements.

Fact 2: Triggering Is Essential for Stable, Readable Waveforms

Without proper triggering, waveforms scroll or appear unstable. Edge triggering on the rising or falling edge “freezes” the display, making it possible to study repeating signals accurately. Modern beginner oscilloscopes simplify this with Auto Setup functions that deliver a stable waveform in seconds.

Fact 3: Automatic Measurements Accelerate Learning

Today’s digital oscilloscopes can automatically calculate peak-to-peak voltage, frequency, period, duty cycle, and rise time. This feature helps beginners focus on understanding signal behavior rather than manual calculations, speeding up the learning process significantly.

1. The Basic Grid: Understanding the Axes

Every oscilloscope waveform is displayed on a grid:

  • Vertical Axis (Y): Represents Voltage. Each division (box) shows how many volts per division (V/div). Example: If set to 2V/div, each box equals 2 volts.
  • Horizontal Axis (X): Represents Time. Each division shows time per division (s/div, ms/div, or µs/div). Example: 1 ms/div means each box equals 1 millisecond.

The intersection of these two axes lets you measure both amplitude and timing of any signal.

2. Key Measurements on the Waveform

When reading a waveform, focus on these important values:

  • Amplitude (Peak-to-Peak): Vertical height of the signal (e.g., 3.3V for logic signals)
  • Frequency: How many cycles occur per second (1 / Period)
  • Period: Time for one complete cycle
  • Duty Cycle: Percentage of time the signal is “high”
  • Rise Time: How fast the signal goes from low to high

Modern digital oscilloscopes like the DOS1102 can automatically measure many of these values for you.

3. Common Waveform Shapes Every Beginner Should Recognize

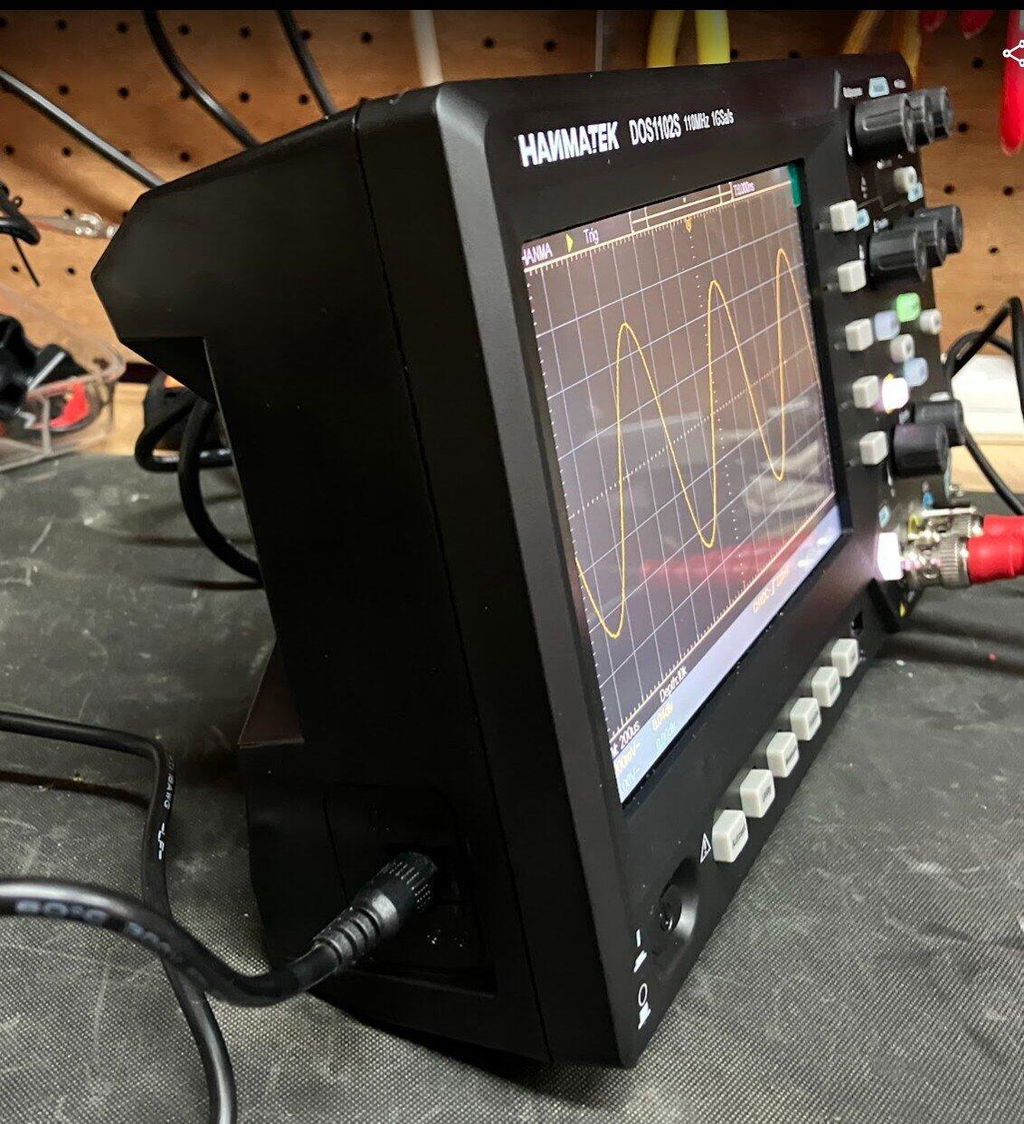
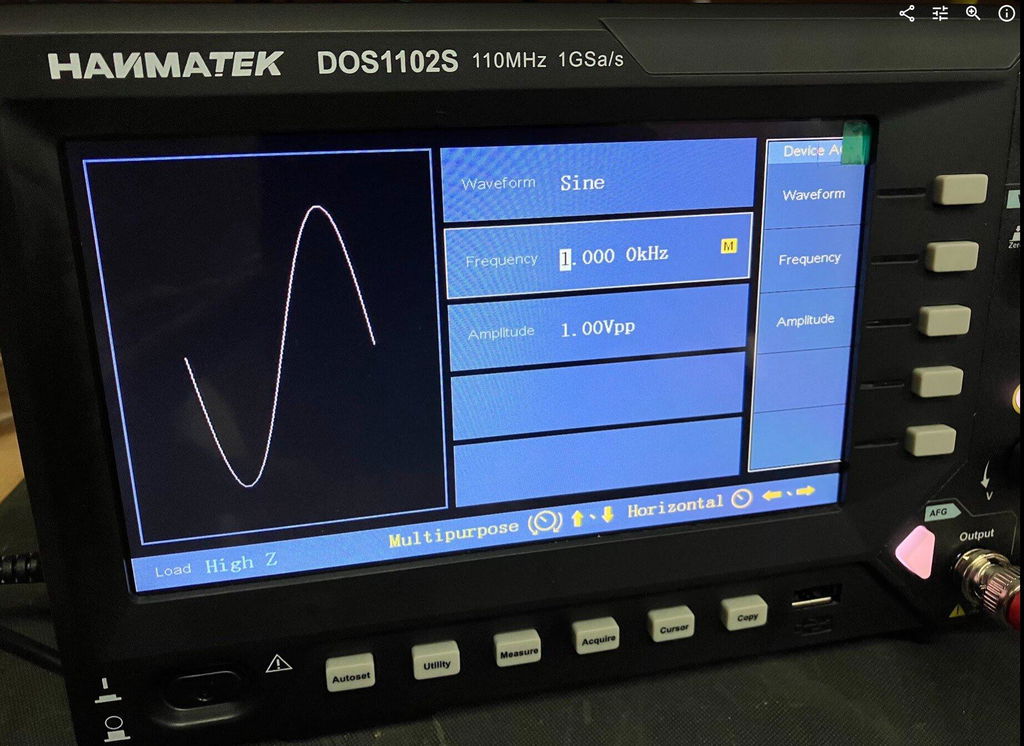
  • Sine Wave: Smooth, curved — typical of AC power and audio signals
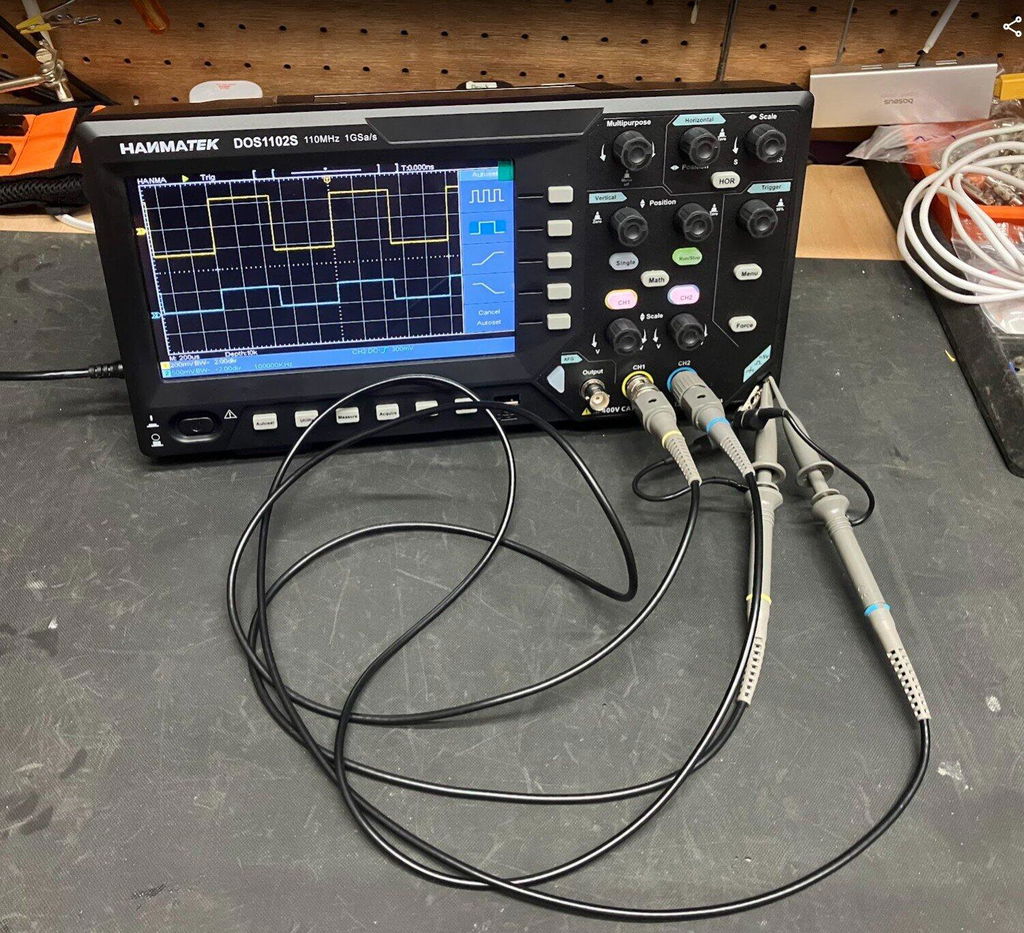
  • Square Wave: Sharp high and low levels — digital signals, PWM, clock signals
  • Sawtooth / Triangle Wave: Linear rise and fall — used in generators and PWM
  • Pulse Wave: Short spikes — common in digital communication
  • Noisy or Distorted Wave: Indicates problems like interference or bad grounding

4. The Importance of Triggering

A waveform that keeps scrolling across the screen is hard to read. The Trigger function “freezes” the waveform so it stays stable.

Most beginners should start with Auto Trigger or Edge Trigger on the rising edge of the signal. The HANMATEK DOS1102 makes this easy with clear trigger controls and an Auto Setup button.

5. Why the HANMATEK DOS1102 is Great for Beginners

The HANMATEK DOS1102 is an excellent beginner oscilloscope and benchtop oscilloscope because:

  • Large, bright 7-inch display makes waveforms easy to read
  • Classic physical knobs for intuitive control
  • 110 MHz bandwidth and 1 GS/s sampling rate — more than enough for learning
  • Automatic measurements and on-screen cursors
  • Hardware protocol decoding to help you move from basic waveforms to real projects
  • Affordable price with solid build quality

It’s a true digital oscilloscope that grows with you from absolute beginner to intermediate projects.

Buy the HANMATEK DOS1102 110MHz 2-Channel Benchtop Oscilloscope

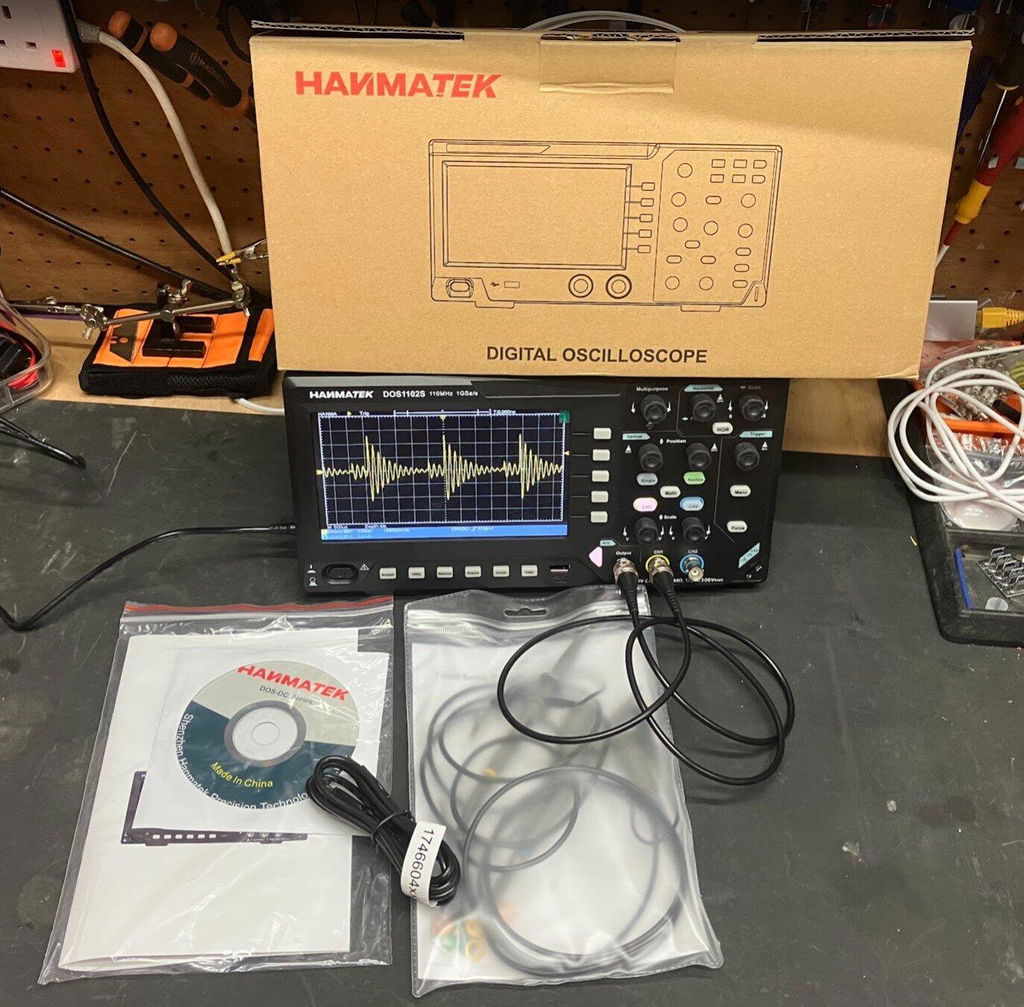
Hanmatek digital oscilloscope 110MHz with display, probes, and accessories for precise signal analysis

Quick Tips for Reading Waveforms Better

  • Always start with Auto Setup
  • Use the correct V/div and time
Previous article Oscilloscope Basics for Beginners (2026 Guide)
Next article Top Features to Look for in a Bench Oscilloscope in 2026

Leave a comment

Comments must be approved before appearing

* Required fields

Compare products

{"one"=>"Select 2 or 3 items to compare", "other"=>"{{ count }} of 3 items selected"}

Select first item to compare

Select second item to compare

Select third item to compare

Compare